
Celestron StarSense Telescope Series - Explorer LT 127/1000 AZ
Categories: Astronomy
In a few articles we will gradually introduce telescopes from the beginner, but still very well rated and also award-winning StarSense series. The first one we chose is the Explorer LT 127/1000 AZ, which thanks to its price of around 6.000 CZK we consider a great choice if you are going to start this hobby.
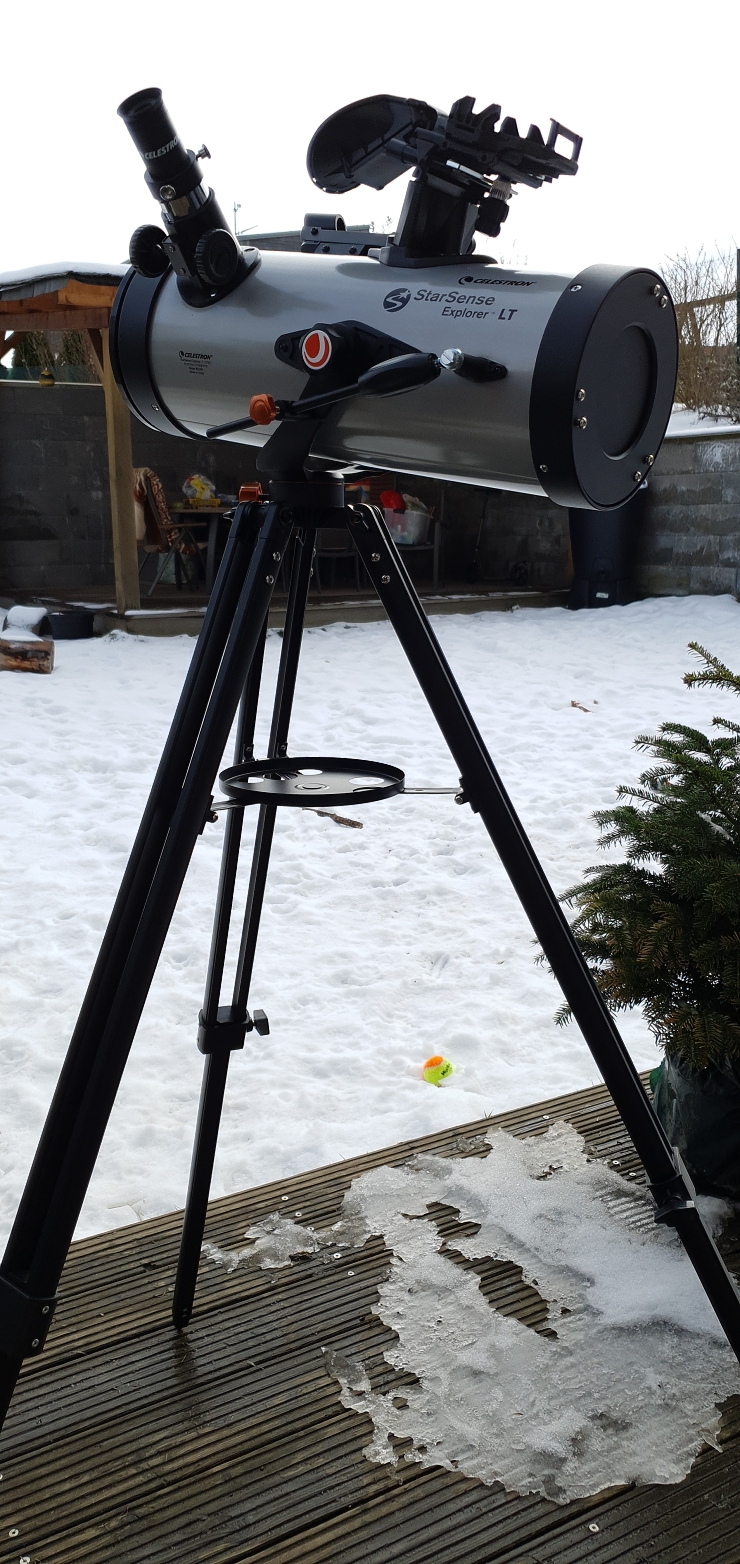
Celestron StarSense Explorer LT 127/1000 AZ
Description of the telescope
The telescope itself is, if we take into account the price, very good quality. It is a classic Newtonian design. The mirrors are coated with a highly reflective layer and overall it is enough for quite nice observations of the nearest space objects, that is, the Moon, the planets and some of their moons and the brightest stars and nebulae.
A little technical note: the Newtonian design is simple. Inside the telescope tube you will find a primary and a secondary mirror. The primary is located at the back of the telescope and reflects the received light into a smaller secondary mirror at the front, which reflects the light into the eyepiece. Due to the two mirror design, the image is flipped both horizontally and vertically. But we usually don't care about that when observing celestial bodies. If it didn't, you'd have to use prisms.
A big plus for anyone starting out is the StarSense app, which I'd like to discuss in more detail, as it's is very easy to use and for someone starting out, it's a quick way to see all the objects you can reach.
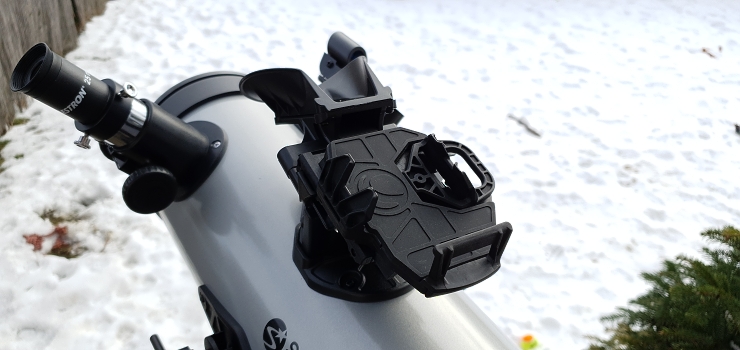
"Docking Station" for your smartphone when using the app
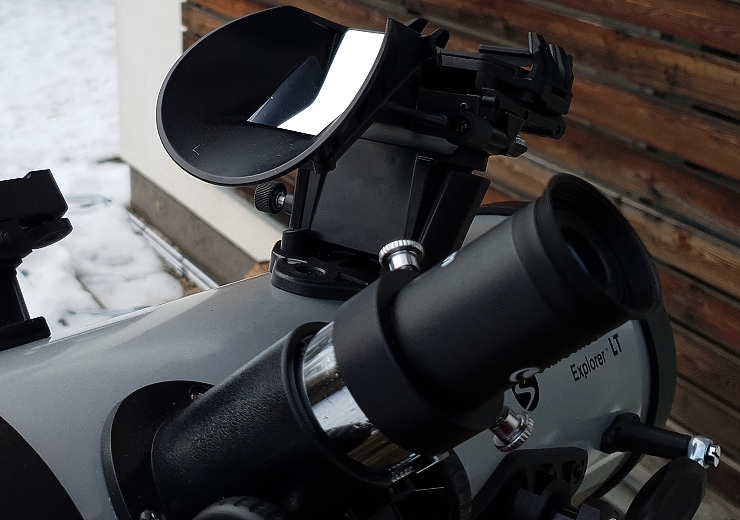
Mirror in the "docking station"
StarSense Explorer
The app and the piece of hardware with the mirror turned out to be a pretty neat idea. User-wise everything is very simple. You calibrate your phone and binoculars and hooray, the universe literally opens up to you. It could even be an advertising slogan. The truth is that it works really nicely for bright objects, and you can basically show off your acquired knowledge with your smartphone without any knowledge. However, the app will also help people with a lot of experience to navigate faster, so there is no need to worry about it.
The app itself is not just a map. The individual objects have their own descriptions and at least some of them are in audio form. The mirror in the telescope mount reflects the familiar star patterns to the phone's camera, and if you're in a location that isn't overexposed, everything works fine.
The phone uses the image data captured by the camera to determine your location. The app evaluates the night sky image and then matches it to its internal database. It works similarly to fingerprint recognition. Professional observatories or satellites in orbit use the same method. The accuracy that can be achieved with the app is approx. 0,25°.
Calibrating the telescope, using the StarSense application
It is not complicated and the app will guide you through everything.
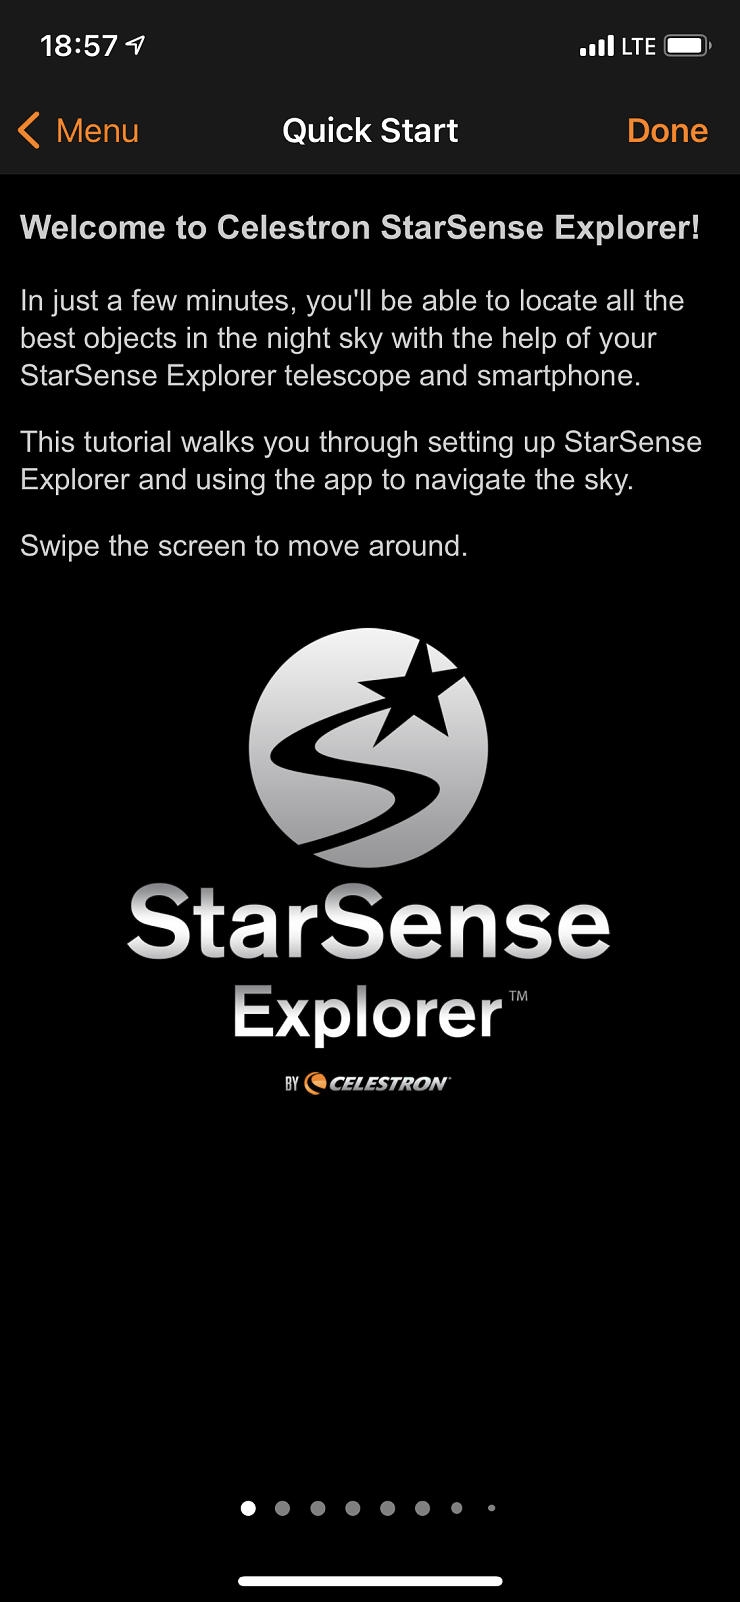
In just a few minutes you will be able to use your telescope and smartphone to find all the most interesting objects in the night sky. This tutorial will guide you through setting up StarSense Explorer and using the app to navigate the night sky.
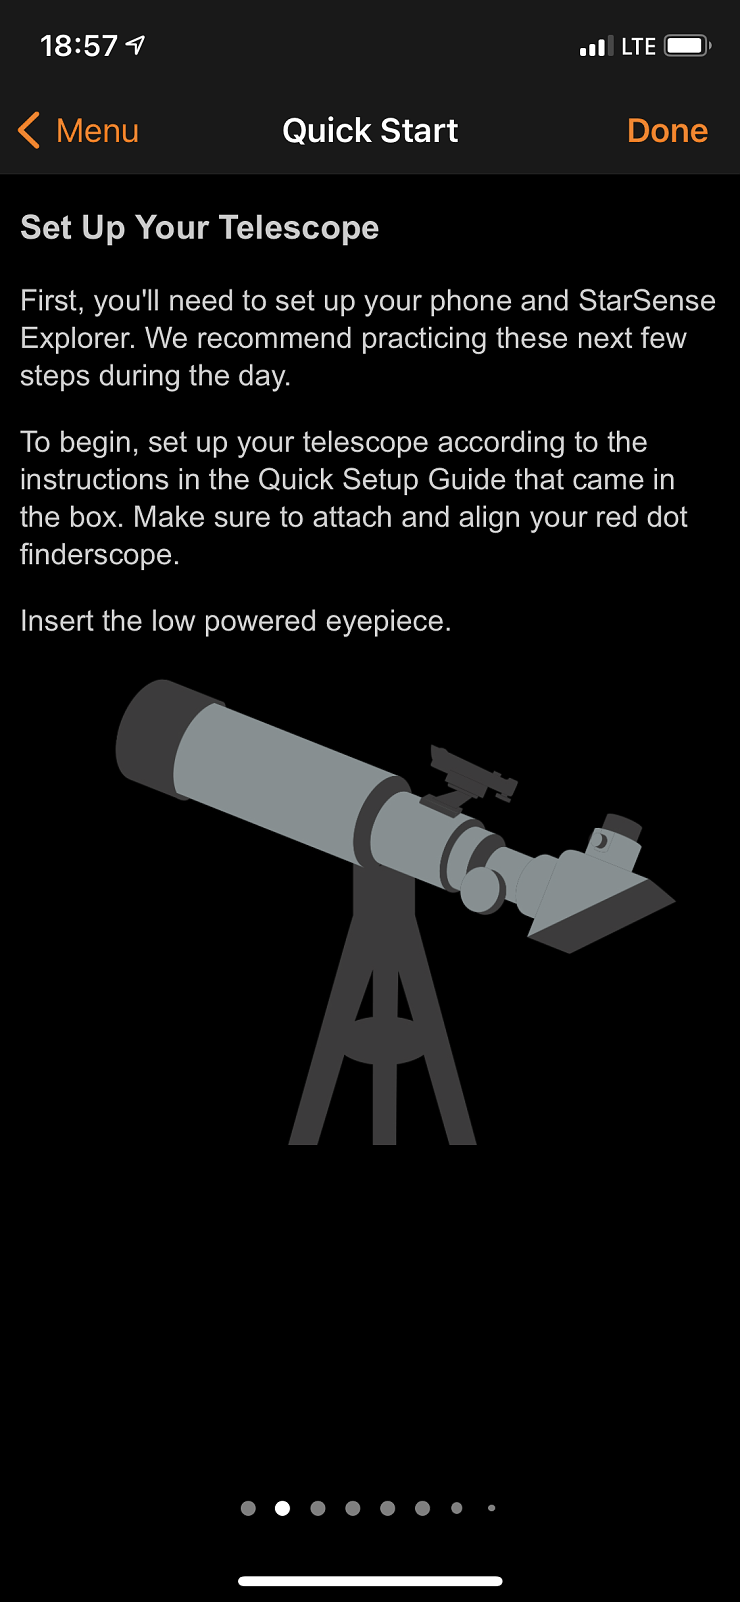
First you will need to set up your phone and StarSense Explorer telescope. We recommend practicing these next few steps during the day. First, set up your telescope following the instructions in the Quick Start Guide that is included in the package. Be sure to connect and set up the "red dot" viewfinder. Insert the 10 mm eyepiece.
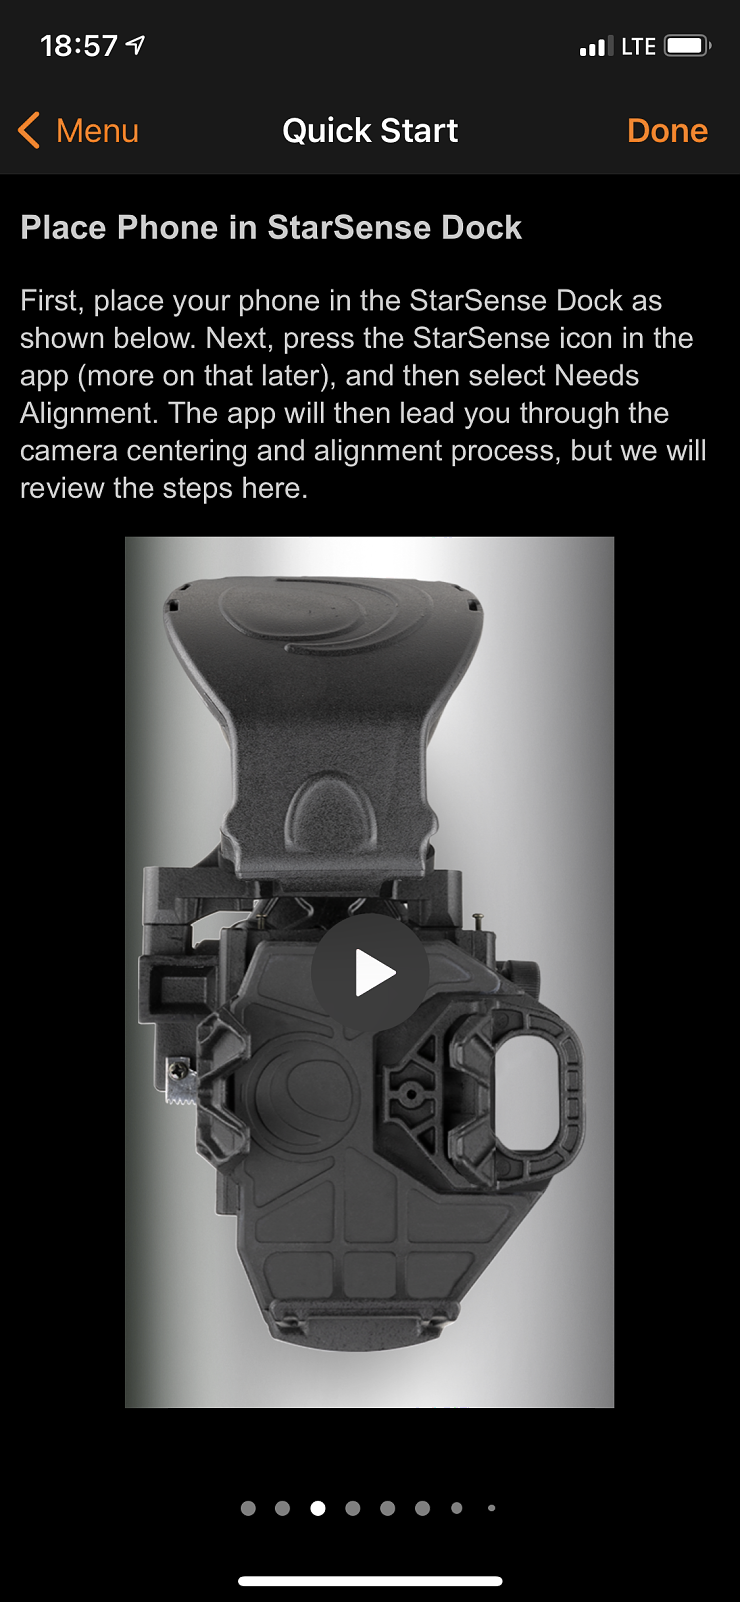
First, insert your phone into the StarSense mount (docking station) as shown in the photo. Next, press the StarSense icon in the app and then select "Needs Aligment" . The app will then guide you through the alignment.
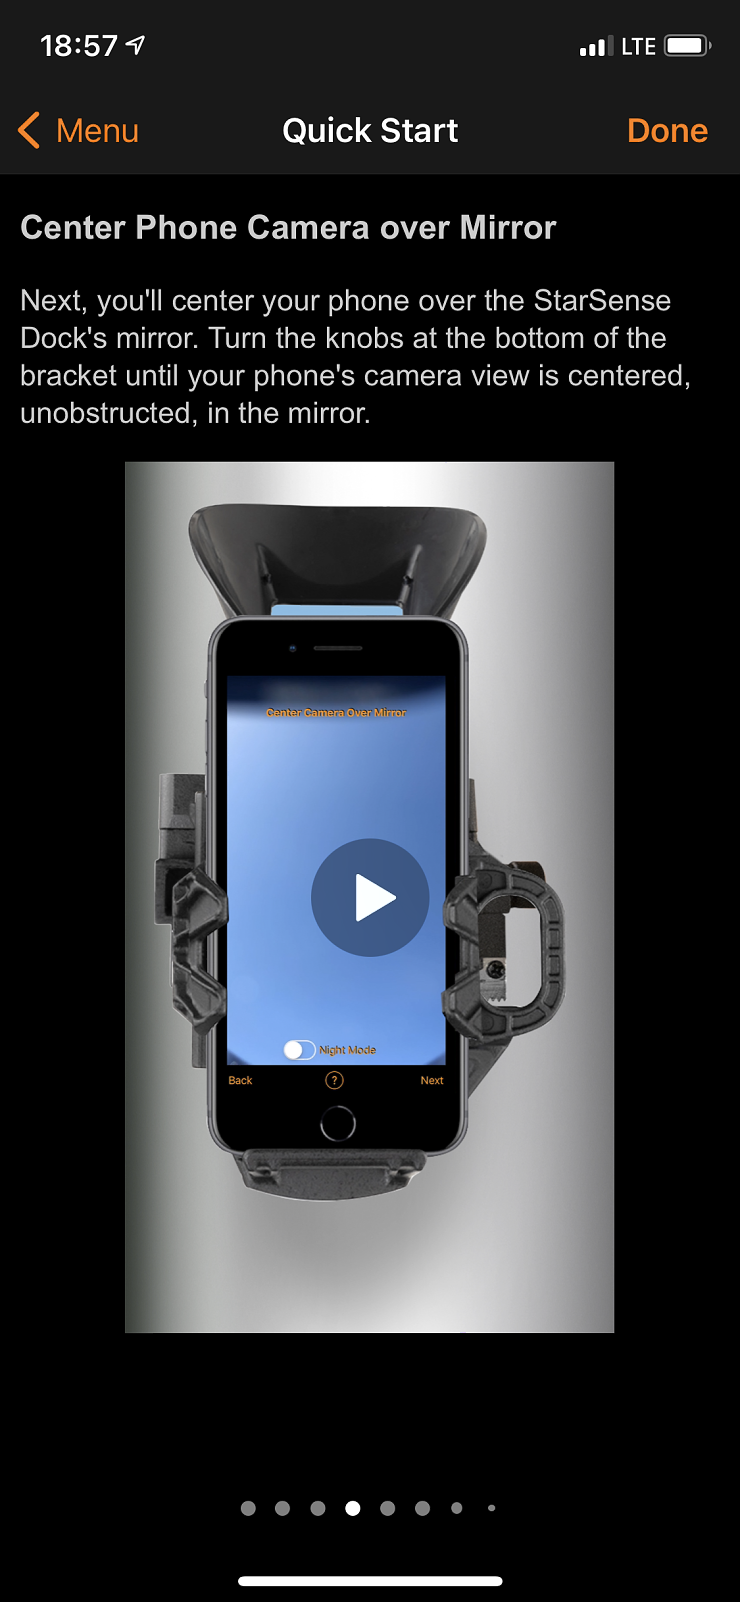
Center your phone over the StarSense dock mirror using the rotary elements at the bottom of the mount until the phone's camera view is completely clear with no visible edges of the plastic.
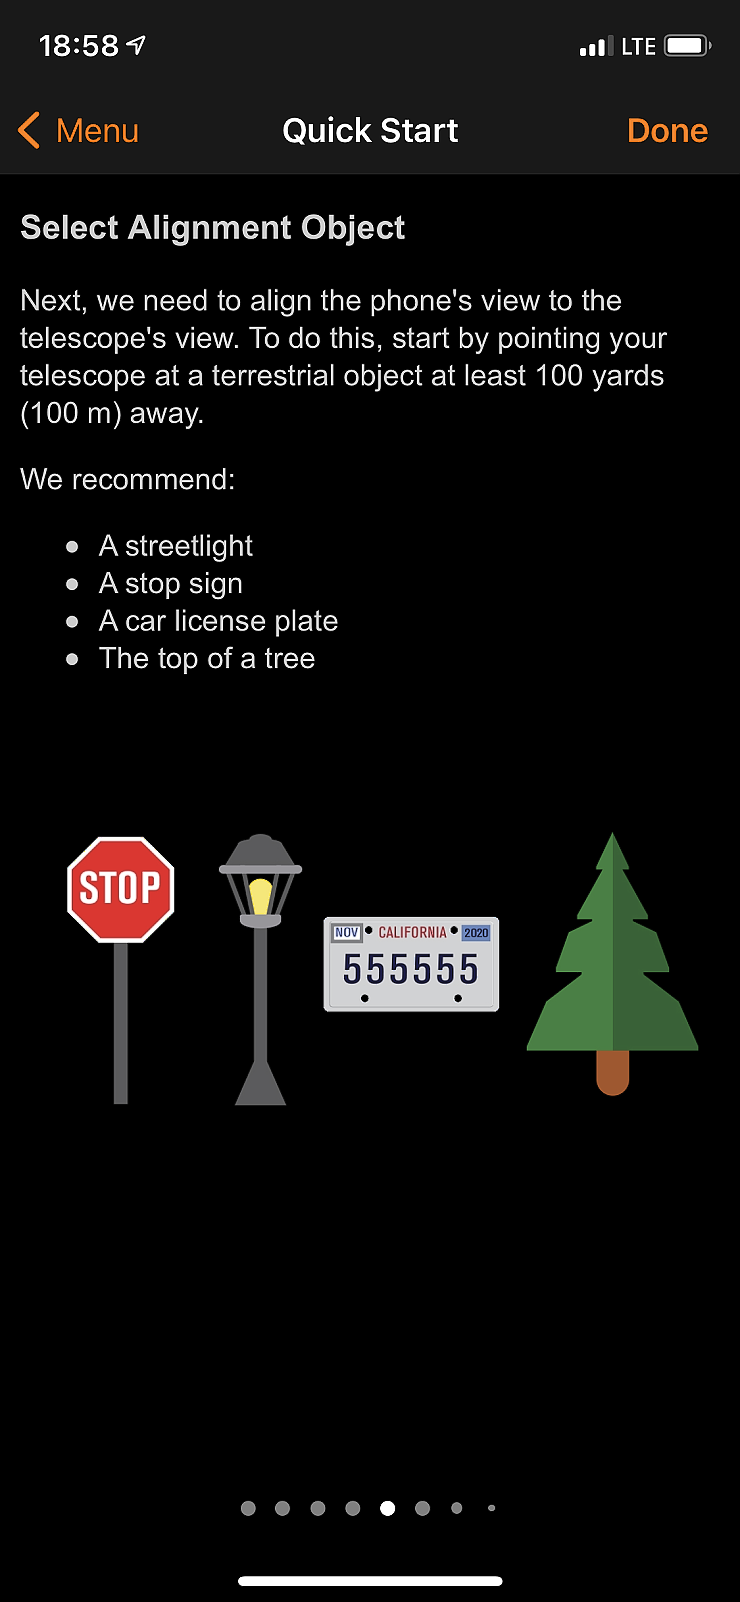
Next, we need to align what we see in the phone with what we see in the telescope. Start by pointing your binoculars at an object at least 100m away (I personally recommendat least 500m).
Recommended:
- Street lighting
- Traffic signs
- Car license plates
- Tree tops
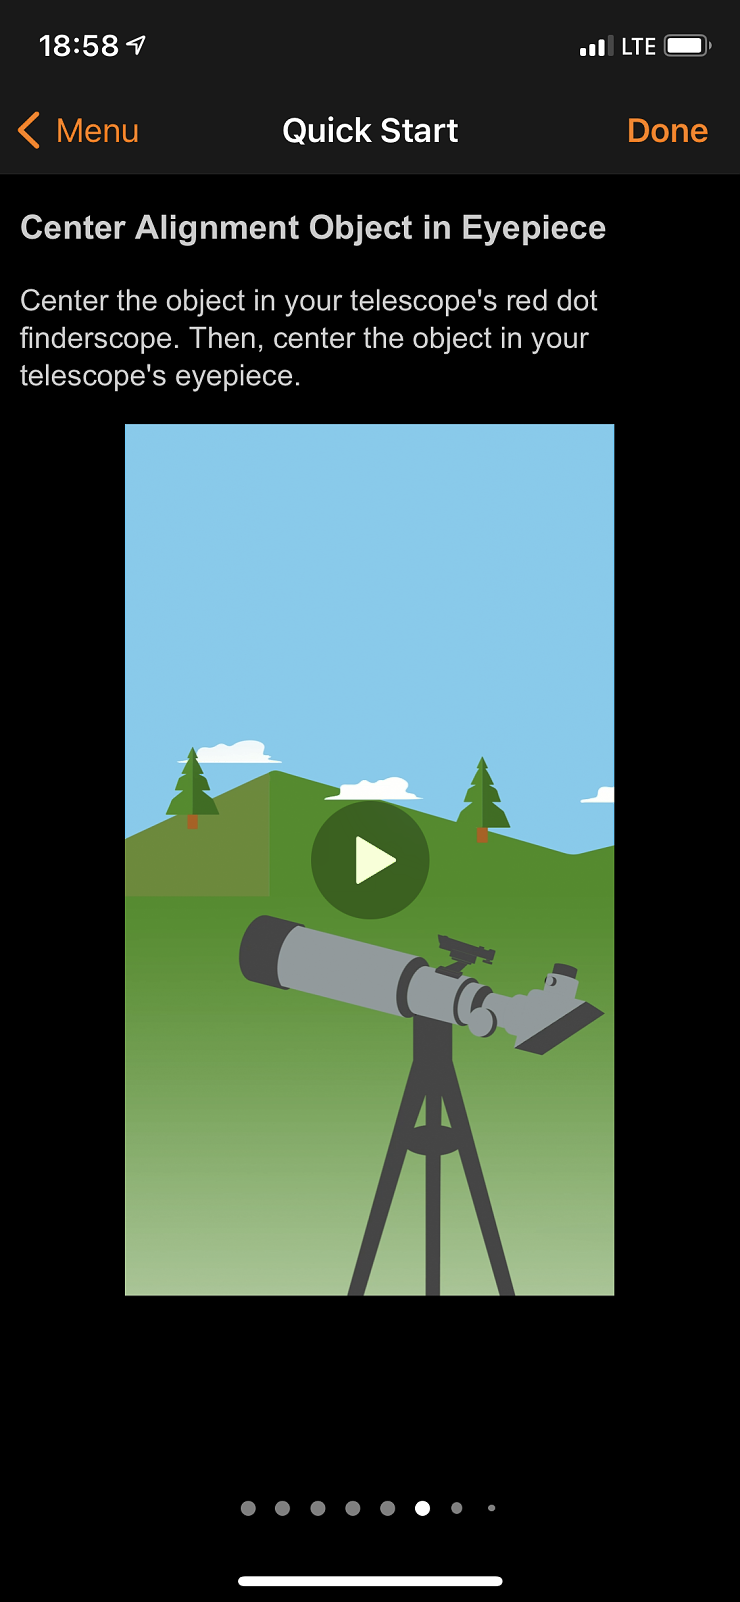
Center the chosen target in the viewfinder and then in the eyepiece of the telescope.
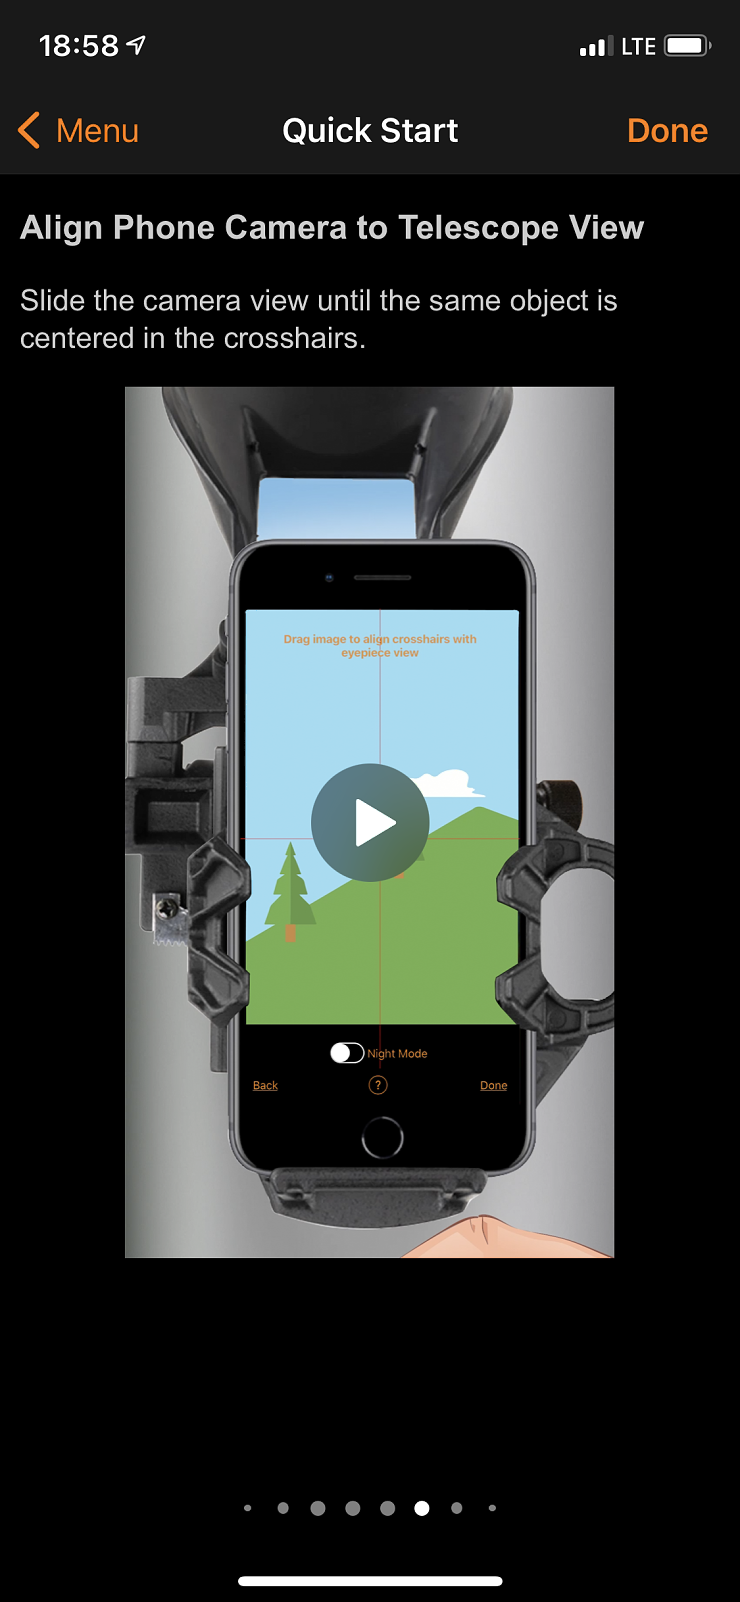
Center the selected target in the thread crosshairs.
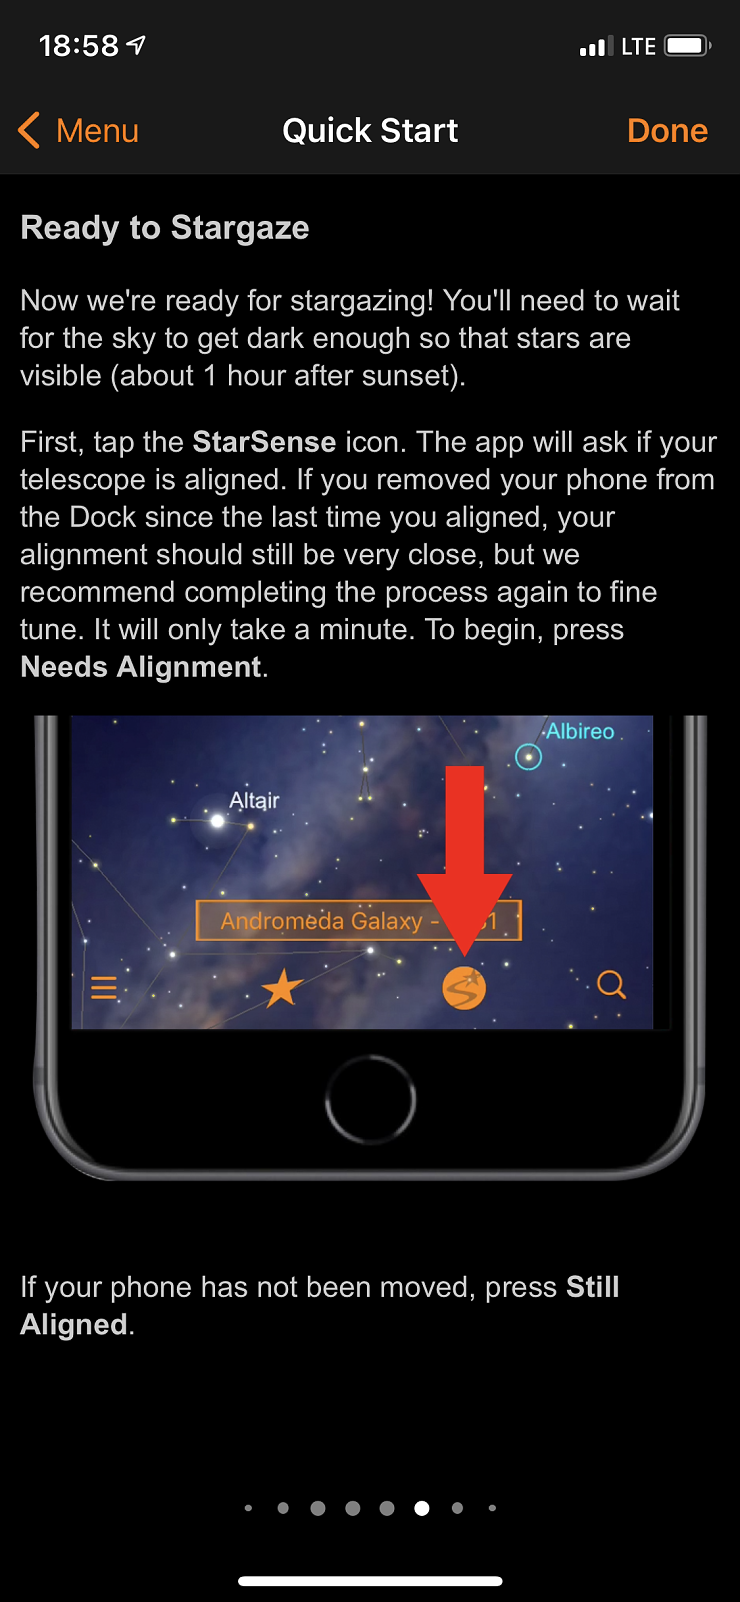
You are now ready for your first night observation. You will have to wait until it is dark enough to see the stars (about 1 hour after sunset). First click on the StarSense icon. The app will ask if your telescope is calibrated. If you have removed your phone from the mount we recommend you fine tune it. It will only take a moment. Start by pressing "Needs Alingnment." If you don't want to fine tune anything, press "Still Aligned".

Tap on any space object in the view to select it. If you're not sure what you want to observe, tap on the star icon to see a list of the best objects for tonight. Tap any object in the list.
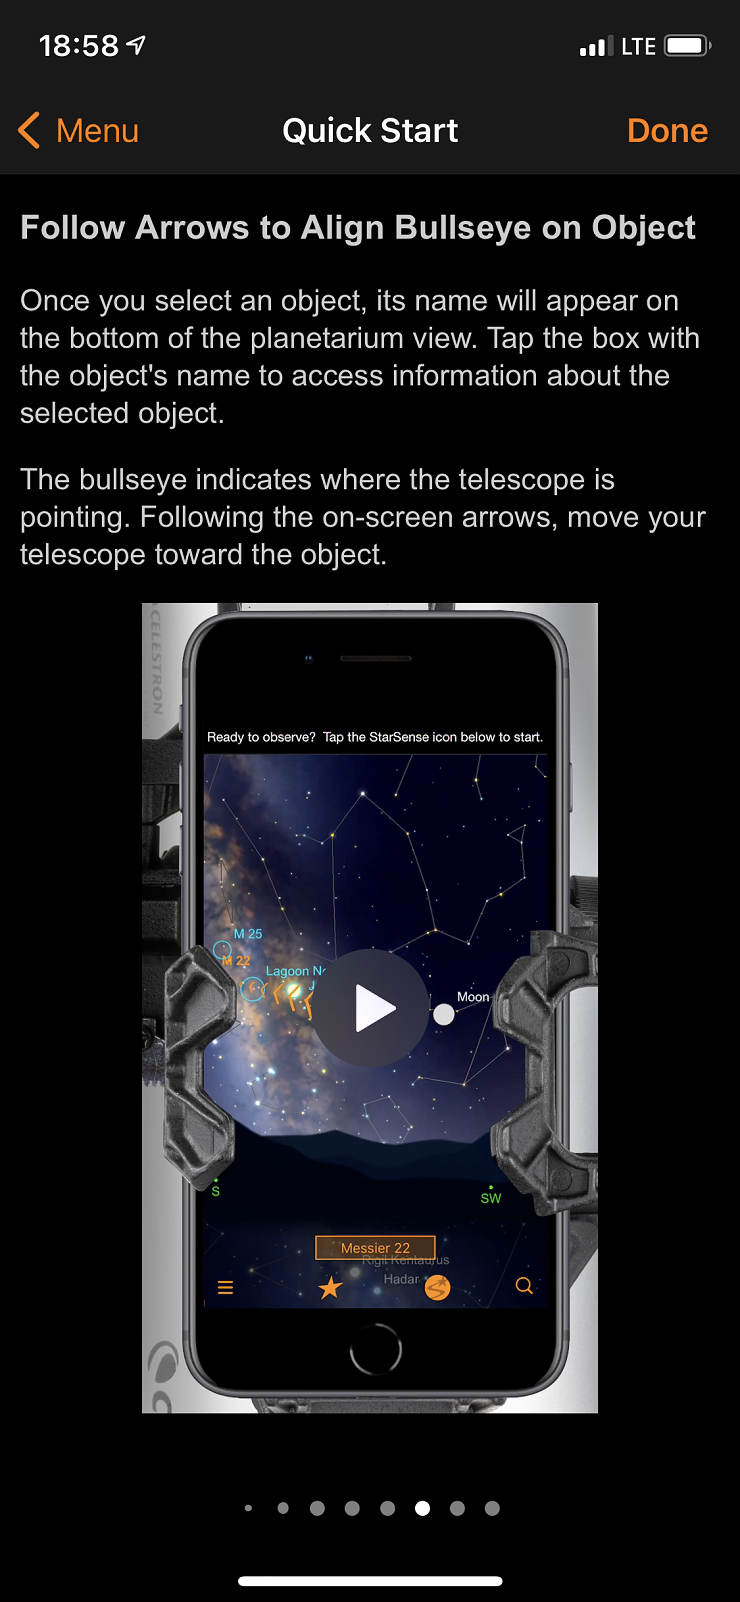
Once you select an object, its name will appear at the bottom of the display. Tap the name of the object to access information from the database. The crosshairs indicate where the telescope is pointing. Use the navigation (arrow) to move the telescope towards the selected target.
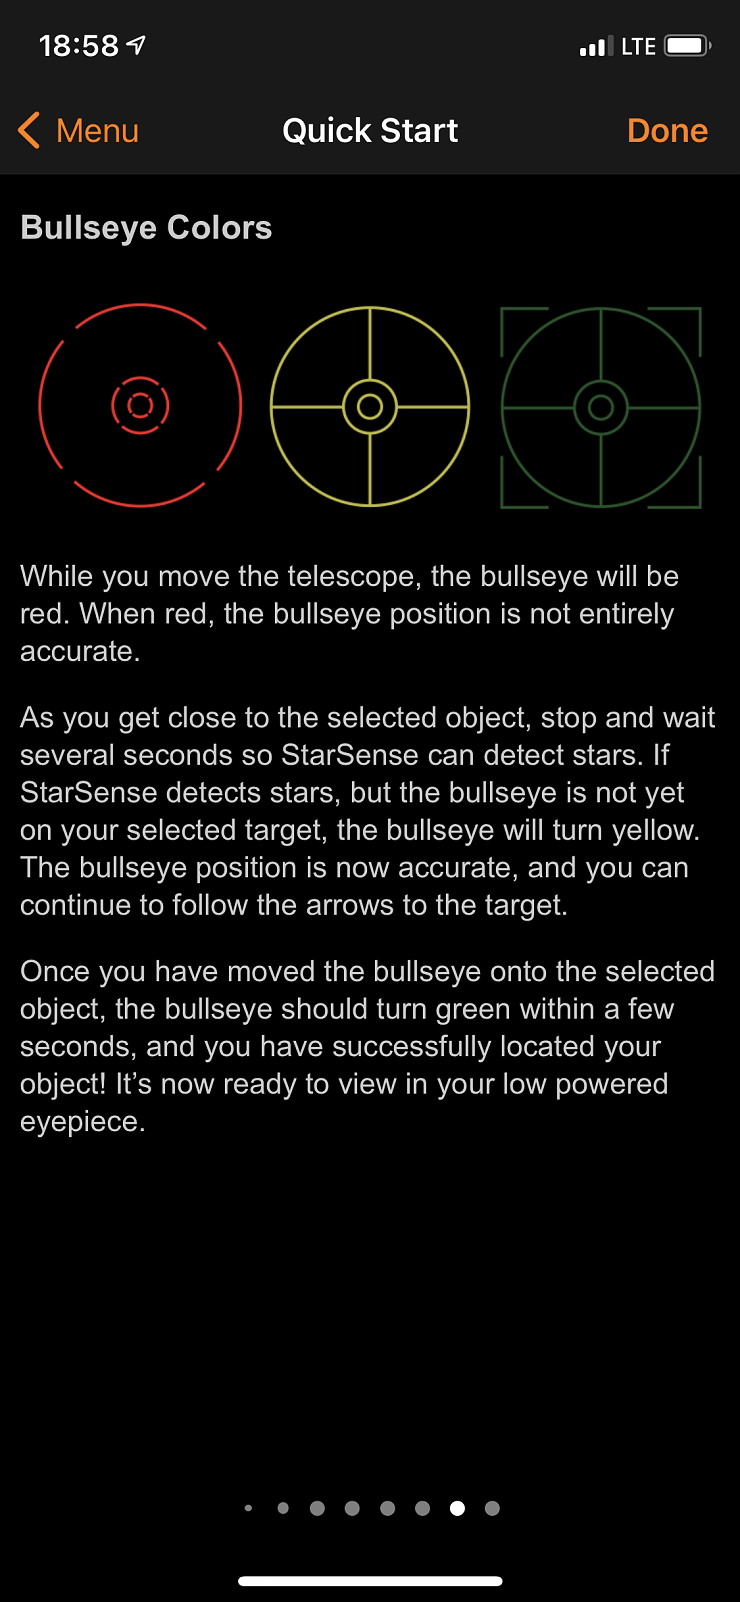
Move the telescope towards the target, the intentional cross will be red. When you get close to the selected object, stop and wait a few seconds. StarSense detects "star patterns". If StarSense is locked on but the cross is not yet on the selected target, it will turn yellow. The position of the cross is now accurate and you can continue navigating to the target. Once you move the cross to the selected target, it should turn green within a few seconds and you have successfully located your target! The telescope is now ready for observation (10 mm eyepiece).
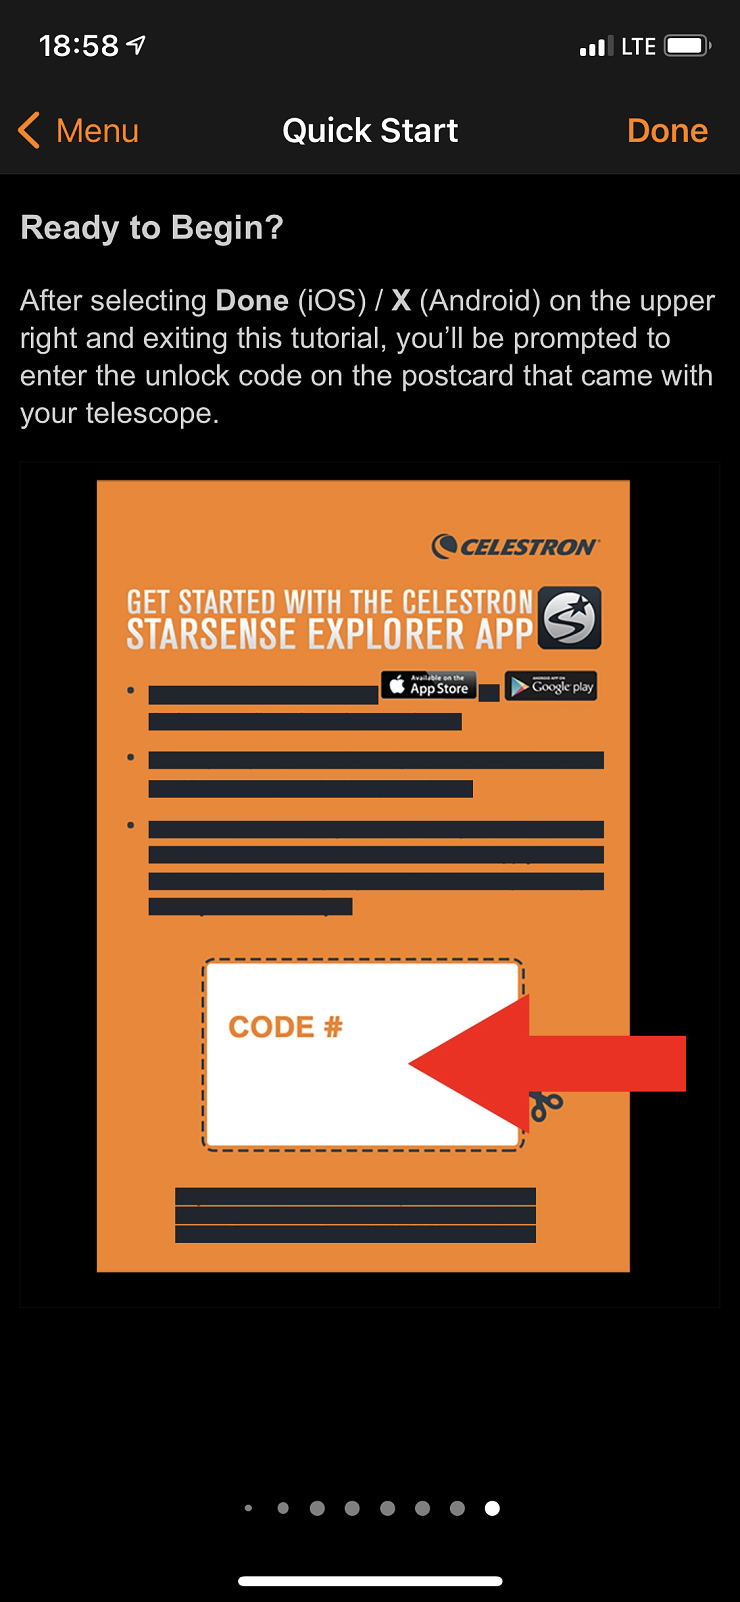
After selecting (iOS) / X (Android) on the top right and completing the tutorial, you will be prompted to enter the activation code from the orange card provided with the telescope.
Technical data of the binoculars
- Type: reflector
- Mounting: manual alt-azimuth
- Focal length: 1000 mm (f/9)
- Objective lens diameter: 127 mm
- Eyepieces: 25mm (40x magnification), 10mm (100x magnification)
- Optical glass treatment: Fully Coated
- Highest useful magnification: 300x
- Lowest useful magnification: 18x
- Barlow lens: 2x
- Viewfinder: Red Dot type
- Software: StarSense Explorer app
- Tripod: height adjustable
- Weight: 5.17 kg
- Link to the detector page on LP: Celestron StarSense Explorer LT 127/1000 AZ mirror telescope
Overall rating
Considering the price of the telescope, the results are great. Especially for a beginner who doesn't know how much time he/she will want to invest in his/her new hobby, this is a very good choice. I have no complaints about the construction and the quality of the telescope. Also the weight is very good and literally offers to carry the telescope everywhere. However, there is a minor pitfall associated with this lightweight and azimuthal tripod design. It is easy to jerk it and get the target out of the viewfinder. If you have children with you, this is such a recurring phenomenon. Eventually, though, they'll learn and just stop leaning on the telescope. :)
The article is included in categories: